In this article I will help you how to install BlueStacks on Windows.
BlueStacks 5 for PC, is the is the most updated Bluestacks version of the Android emulator for PC. If you are visiting this page it is because you have heard about this emulator for PC.
Well, BlueStacks 5 is an improved version of this well-known software which includes new options and improved features, remember that the early versions failed in the compatibility with many applications and games that seem to have been solved with this new version. Now let’s make the most of our games and apps squeezing to the maximum BlueStacks.
Features of BlueStacks 5
- Up to 50% less RAM usage.
- Improves loading time (up to 50% faster).
- Reduced CPU consumption.
- Multitasking efficiency by 87% CPU and 97% GPU.
- Greater stability in the FPS.
- Privacy enhancements.
Compatible with most Android apps
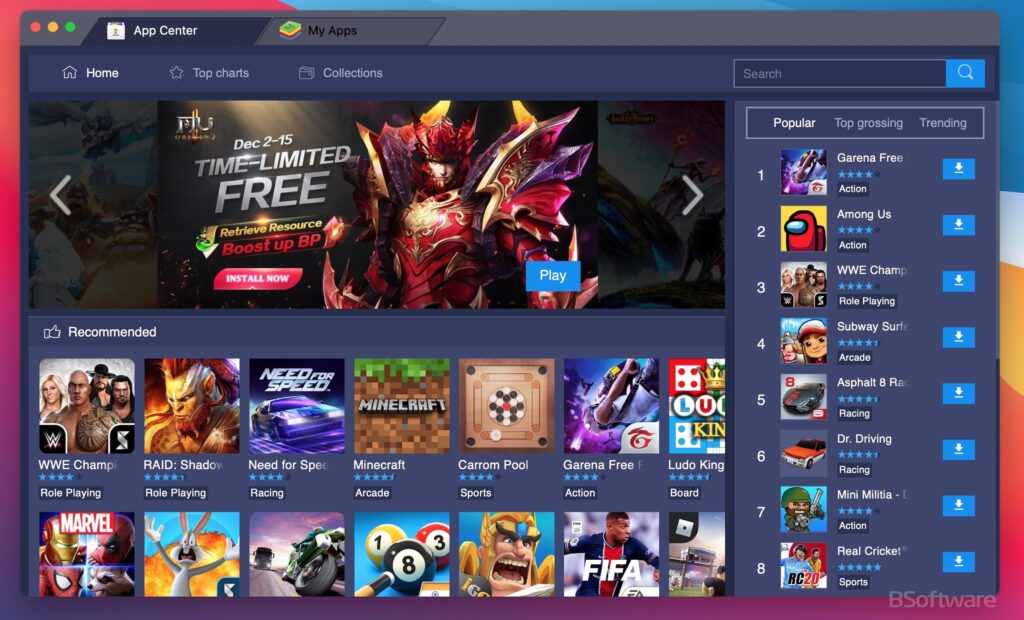
The compatibility achieved in BlueStacks 5 is very high so you will be able to run any application or game without problems. To install them all you have to do is login into your Google Play account and start downloading. Although you also have the option to download the application from third parties (APK).
Supports full screen mode
We don’t need to enter so much in details but this feature is very important in an emulator because it allows us to enjoy the experience to full screen mode. This is an advantage especially if you want to use BlueStacks 5 for games.

Intuitive interface
Being an Android interface won’t be difficult to use because most of you already know it. The applications run exactly the same as in a terminal so you won’t have any problems. We specially recommend in this case configure key mapping and external devices.
Android with PC performance
Considering that a PC has a performance far superior to a mobile device we can achieve fluency and performance never seen. So if you like to play also I recommend it without a doubt.
Possibility to synchronize with PC
Mediante CloudConnect you will be able to synchronize your data with your Android phone, which will be of enormous help to you.
Install requeriments for BlueStacks for Windows
- Windows 7, Windows 8, Windows 10, Windows 11 (Works in all versions)
- Be admin of our PC.
- 4GB of RAM memory.
- 5GB of free hard drive disk space (9GB recommended).
- Graphics card drivers updated.
- Internet Conection.
Installation Guide
The first thing you need to do is download Bluestacks for PC, and uninstall (if you have it) the older version that you have.

Installation file for Windows
- File name: BluestacksInstaller.exe
- Recommended version: Nougat 64-bits
- Languages: Multiple languages
- License: Freeware
- Developer: Bluestack Systems Inc.
- Official website: www.bluestacks.com
Before proceeding with the installation, if you have a laptop, I recommend that you plug it into the power outlet first because the installation may require a lot of system resources, and it is not advisable to install Bluestacks 5 with power-saving mode enabled.
I also recommend that before installing Bluestacks, you update the GL Drivers of your graphics card to avoid potential error messages.
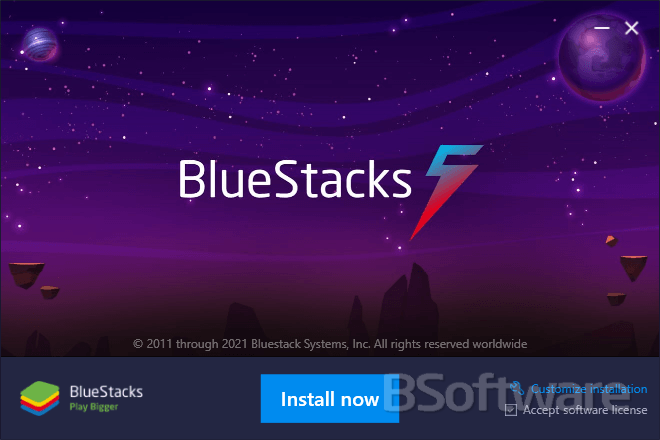
Once these requirements are met, run the downloaded file to start the installation (running as administrator).
Once the installation has started, we just need to follow the steps provided, and Bluestacks will be correctly installed on your computer. Once finished, you will only need to launch BlueStacks 5 and start enjoying it.
If any complication arises during this process, do not hesitate to write to the team in the contact section, and we will assist you as much as possible.
Common errors after installation
Bluestacks doesn’t usually have many problems to install, but there are some known exceptions quite common in the installation process. Here we describe some of them:
Error 25000: The most common problem registered, is due to an incompatibility with the graphic libraries of your card.
Solution: Update the graphics drivers on your computer. If the problem still persists after a successful upgrade, maybe your graphics card it’s not compatible with the minimum emulator requirements, so you won’t be able to install this software.
See also: More about the 25000 error
Incompatibility with BitDefender: Bluestacks is not compatible with BitDefender so the emulator can’t be successfully run if BitDefender is running.
Solution: Disable or uninstall BitDefender.
High installation time on laptop: Sometimes the installation is complicated because we have the laptop in energy saving mode and the graphic requirements are high causing a very slow installation.
Solution: Activate the computer to the power supply or to disable the energy saving before proceeding to the installation.
Optimal BlueStacks Configuration
BlueStacks can be configured in many ways and there is no optimal configuration for all PCs, but there are certain recommended tips that you should know:
- CPU: If your PC has multiple cores, allocate at least 4 cores. For heavy games, you can assign more if your CPU allows it.
- RAM: BlueStacks recommends assigning at least 4 GB of RAM. For more demanding games, you can increase this to 6 GB or 8 GB, if your PC has enough available memory.
Go to Settings > Performance and select High Performance. If you notice that this consumes a lot of resources, you can try the Balanced mode for a good balance between performance and resource usage.
OpenGL generally offers better stability and compatibility, but if your game is graphics-intensive, try DirectX for better performance. Enable ASTC Textures if your game requires advanced textures. Use the GPU Rendering option if your PC has a dedicated graphics card, as it improves fluidity and graphics quality.
For good performance without sacrificing too much graphic quality, choose a resolution of 1600×900 or 1280×720. A DPI of 240 is sufficient for most games, but you can lower it to 160 if you need to improve performance.
Make sure that virtualization (Intel VT or AMD-V) is enabled in your BIOS. This allows BlueStacks to better utilize your CPU’s resources and is essential for performance.
If you play titles that require high FPS rates, adjust the FPS to 60 or even to 120 FPS if your monitor supports it and the game allows it. But if it’s not necessary, keeping it at 30 FPS can reduce resource consumption.
In addition to the settings in BlueStacks, optimize the graphic settings within each game. Adjust the graphics to “Low” or “Medium” if you seek to improve performance, or to “High” if your PC supports it.
Download BlueStacks
You can download Bluestacks for PC through the official Bluestacks website:
Download Bluestacks 5 from the Official Website
See also: Install Bluestacks on MAC


je veux instaler
ggreat app
why cant i download bluestacks2
good app
i want to play games in blue stacks
I love blustack
muito boom
want 2 whatsapp
blue stacks
very good
No tengo nada que comentar
No tengo nada que comentar es muy bueno y lo necesito
Me gusta mucho este programa y es lo mejor que he visto
Hasta cuando es esto
Bluestacks 4 is great. I have a bad wifi on the phone and i cant connect my WIFI cable to it. So i searched up mobile games on pc and came across this. I downloaded it and now i can play my mobile games without any lags.
cool
god app
lindos aplicativos
very good